Showing posts with label top. Show all posts

Thursday, 13 March 2014

Sew All The Knits: Coppelia Cake

Su Sews So So Coppelia Cake 1

Well that was a wee blogging break I didn't mean to take - my internet stopped working for about a week there!!! I have no idea how I fixed it but the main thing is it's fixed and we can get back to business.

And back to sewing too! Since my sewing funk I have definitely found my mojo again and I have been beavering away in the sewing room and enjoying myself immensely! Thank you again to all the lovely people who sent me such kind, encouraging words, they really helped.

On to my latest make: The Coppelia Cardi by Papercut Patterns.
I have had my eye on this beauty for quite some time and when I was looking for garments that would grow or shrink with my body, I thought a wrap cardi would be perfect, so I hit the 'purchase' button!


Su Sews So So Coppelia Cake 4

The packaging for Papercut Patterns is really something else - an extra large and extra sturdy box which you can actually hang up, along with pattern paper which is also extra sturdy - no flimsy tissue to contend with here! Plus the instructions are printed right on the pattern paper and can be cut out and concertinaed together to create the cutest little instruction pamphlet.

This is a really simple make which comes together quite quickly. The hardest part for me was smoothing about the cotton jersey - does anyone else find that really fiddly?!

Here is perhaps a random cutting tip (unrelated to dealing with smoothing jersey fabric), which you might not do: The Hem Tie, which wraps around your body to secure the cardi, is incredibly long and the pattern piece for it is a third of the actual size (so you end up having to cut three pieces which you then sew together). So that I could make sure I definitely had enough fabric, and to save time on pinning (I hate pinning), I traced around the piece and made two replica pieces, which I was then able to lay out simultaneously on my fabric, pin and cut everything out in one go. It's a simple trick, but hopefully it helps even one other person out there!

Su Sews So So Coppelia Cake 6

My fabric is a lovely soft, cosy cotton jersey from Croft Mill. Do check out that online shop if you haven't yet, they always have such lovely fabric at decent prices. And thankfully, postage to Northern Ireland is the same as to the rest of the UK! Oh, and I really love their fabric descriptions; they always give me a giggle.

Anyway, being relatively new to jersey, I was surprised to find that this fabric didn't have any selvedge and came as a tube! But even being in 'tube' form, it was still very fiddly to smooth out. Doh.

Due to some blog feedback telling me that the neck band can end up a bit baggy I decided to stretch it while sewing it to the bodice and reduced it's length by about 3cm. I think that did help, but it is still a little baggy. I actually think the whole cardi is perhaps a bit baggy, especially around the bust and shoulder area, so if I make this again I might try and alter that (erm…but I have no idea how I would actually do that, so please do be asking! lol).

Su Sews So So Coppelia Cake 5

I called this make Coppelia Cake as I I think this will end up being quite a basic staple in my wardrobe, which is just what I have been needing actually! I think I have mentioned before that I hardly wear my me-made things, so this year I am trying to change that.

Oh, and here are the details:

Pattern: £13.36
Fabric: £14.49 (inc. postage)
Thread: £3.65 x 4 = £14.60

TOTAL: £42.45

Eep! That sounds a bit mental for a cotton wrap cardi! But I included the cost for 4 large cones of black overlocking thread, which are obviously nowhere near used up, so that was really an investment cost. I didn't include the cost for the black sewing machine thread, or the ball point needles that I used for this make, because I had already factored those into my Plantain costs. PLUS, if I make this cardi again I won't include the pattern cost in future makes.

Su Sews So So Coppelia Cake 2

Oh yes, that photo reminds me, I was particularly in love with the cuffs! They were super easy to make, and give a really beautiful and professional finish. There is nothing particularly special about them, but because they were my first ever cuffs, I loved them! lol

So that concludes my second edition of SEW ALL THE KNITS! Expect more knits on here…I have a few things cut out and ready to be stitched up this Bank Holiday Weekend - yeay!!

Sew All The Knits Meme

Monday, 10 February 2014

I think I may be in love...

Su Sews So So Skeletal Plantain 6

At the beginning of the year, the lovely ElĂ©onore from Deer and Doe released a free t-shirt pattern called Plantain. I suspect you all know that though anyway!

I had been meaning to try my hand at making my own t-shirts, as well as finally getting round to using my serger for more than just neatening edges, so I thought this would be the perfect opportunity.

Su Sews So So Skeletal Plantain 1

The pattern is a PDF download, so instant gratification. Well, not really - we all know there is a fair amount of work involved when it comes to PDFs: printing, cutting, taping, cutting again…urgh! But I have to say, this wee pattern comes together very quickly, and it even fit completely onto my dining table, so that was a back-saving bonus! 

I bought this jersey fabric especially for the Plantain, but naughty me, I didn't check or bring the pattern with me to the fabric shop, so I erred on the side of caution and bought 2 meters - which was more than enough. So I have a fair bit left over, but annoyingly not enough to do very much with. I'm hoping I can squeeze SOMETHING out of the remnant as it would be such a waste otherwise.

Su Sews So So Skeletal Plantain 5

So as I mentioned, this project was my first real attempt at using my serger to sew jersey - and oh my god….it was like an epiphany. Honestly, I just couldn't believe how amazingly easy and satisfying it was to put this together!!! Again I erred on the side of caution when choosing which size to cut out and I went big(ish) with the thought that I can always take it in, but because I was sewing it up on the serger I wouldn't be able to let it out due to the sergers knife! It ended up a bit bigger than I had planned, but I decided to leave it, and after wearing it a couple of times I actually love it as it is - it is super comfy.

One of the things I absolutely LOVE about this pattern is the neckline. I have seen some comments on other blogs about how low the neckline on the Plantain is but for me it is perfect. I may use this neckline as a template for future makes, because I think it is probably one of the most flattering styles I have made.

Unfortunately I had initially been thinking about entering this t-shirt into the competition Deer and Doe were running but fate was not on my side (what is it with me and competitions - I missed the Laurel one too!); I needed a twin ballpoint needle to do the top stitching (well I probably could have done without, but I WANTED one!) and ordered it online - except, when my order arrived (with only 3 days to go until the deadline) they had forgotten to include my needles!!! They were very good and sent them off to me straight away, but I was worried I wouldn't have enough time to finish the top if I waited. So I headed off into Belfast…and after visiting 3 sewing/craft shops (as well as previously visiting a big sewing shop outside of Belfast) I came away with no needles - apparently the people of NI aren't in need of twin ballpoint needles!!! Well, as it turns out, as much as I love my t-shirt, I don't think it would have stood much of a chance against the finalist  - do check them out, some beautiful modifications!

Su Sews So So Skeletal Plantain 3

So, some deets on the make:

Pattern: Free - thanks Eleonore!
Fabric: 2m jersery @ £10.49 = £20.98
Black thread: £0.79
Twin ballpoint needle: £3.59

TOTAL: £25.36 

A bit pricey for a simple long sleeve t-shirt, but as I said, I bought a more fabric than I needed. So hopefully I can counterbalance that by squeezing something else out of the leftovers.

But…discovering how amazing it is to sew knits: PRICELESS!!!! Infact, this is kinda how I felt once I made this top:

Sew All The Knits Meme

(why yes I did make that meme especially! lol)

Needless to say, there will be more knits to follow!

Wednesday, 15 February 2012

Holy Cowl - I made a top!

purple cowl top 029

Well I am so excited to be able to share my latest make with you all today. I gave you a sneak-peak on Sunday, but the photos didn’t really show the top off very well – so here it now is, in all it’s glory!

purple cowl top 022

OK, so why am I so excited about sharing this top with you? It’s just a simple cowl neck top right? Well yes, but did I mention that I drafted the pattern for this MYSELF?!!! Yes-siree, I started with no pattern and ended with a top that I just totally love! Well actually, to be completely honest, I started with a RTW top that I really loved, and after a fair bit of head-scratching and a few slightly squew-if muslin attempts I had a eureka moment last Wednesday night and cracked it,

purple cowl top 021purple cowl top 013

I whipped this top up (including making up a muslin version, copying that onto a neat paper pattern and then making up the purple version) in a few hours on Wednesday night, so it really is a quick and simple make. It’s super neat inside, with french seams and pale lilac bias binding on the arm holes and back neck. Oh, and the edge of the cowl neck is done with a neat baby hem (one of my techniques to tick-off for my 12 in 2012). The neatest bit though is that the shoulder seams are completely enclosed because of the cowl neck. I don’t have photos of it to show you today (doh!), but I’ll take some and show you another time (there will be a lot more of these tops to come!).

purple cowl top 004purple cowl top 005

The fabric is a really buttery-soft voile which I got on sale from M is for Make last year. They didn’t have a full meter of the fabric left, so amazingly you can squeeze this top out of less than a meter! The RTW top that I copied was made from some sort of slinky poly so the cowl is a lot less prominent and drapes better, but I took a chance with the voile and I’m happy with how it turned out. It was also very easy to work with (while a slippery fabric would not be!) so that was an added bonus. As you can see from the photos above, the front piece is cut on the bias while the back isn’t. It does mean that the pattern doesn’t in any way, shape or form match up, but to be honest I don’t think it matters. Having the front on the bias obviously aids with the drape of the cowl, while having the back on the straight of grain gives stability to the shoulders and keeps the tops structure. You may also notice from the photos above, that the front of the top has a curved hem, while the back is straight. The original top has a straight hem front and back, but the curve was born out of necessity, due to lack of fabric! Turns out I rather like the curved hem – and I am tempted to turn the back hem into a curve as well. Or I might not be bothered on this occasion – I plan to wear the top mainly tucked in so it doesn’t really matter.

purple cowl top 009

I had bought this fabric to make a Sorbetto out of, but I’m afraid that the Sorbetto just doesn’t really suit me (oh oh, I fear severe backlash from the huge Sorbetto fan club for saying that! I didn’t say I didn’t like the pattern – just that it didn’t suit me!!), so I’m really pleased with how I ended up using the fabric. I have a few more fabrics in my stash which I am hoping to turn into cowl tops (including a certain Liberty Silk I might have picked up recently).

And the other reason why I’m super excited to share this make with you is that, once I figure out how to actually do it, I’m hoping to share the pattern on the blog!! Yeay for free patterns!

purple cowl top 027

Thursday, 1 December 2011

Look–a finished project!

purple sorbetto 013
Well, can you believe it – I actually have photos of a finished project and can finally share something tangible on this ol’ blog!
So, as I’ve mentioned previously, I made up the infamous Sorbetto top. Initially I made it in it’s original form – without sleeves. But sleevless tops and I just don’t see eye-to-eye so I decided to add the sleeves. It did help, but I’m still not totally convinced with it! I bound the neck with pale pink bias binding. It’s not quite the right shade, but was the closest the shop had…and I think it’s also the wrong width. So the bias binding is probably one of the things I’m not overjoyed with, and maybe one day I may change it. On the plus side, this is quite a frugal make because you can cut this top out of less than a yard of fabric!!
Anyway, here are a few shots of me trying to style it up. Excuse the bad poses, it’s early days in my ‘modelling’ career!
purple sorbetto 003
Workin’ my ‘Autumn Palette’ colours (oh god, please don’t ask me about those plans I made….still working on it!! They might be ready for next Autumn!)

purple sorbetto 005
Sans cardi

purple sorbetto 006
Adding a bit of sparkle…

P.S. Who’s got their tree up? As of one hour ago, I do!! Woohoo…bring on the festivities!

Tuesday, 27 September 2011

Tuesday's Tutorial Treat: T to drawstring cami refashion


Tori from Sew Knit Me has just shared the cutest and quickest tutorial refashioning a old big t-shirt into a very pretty drawstring cami. Perhaps a little light weight for a lot of us, so this is one to bookmark for next year. But if you're in the Southern Hemisphere, or on the equator, then this would be perfect for now! If you don't know Tori's blog, do check out her other refashions, she has a really great sense of style.

Link HERE

Wednesday, 1 June 2011

My Pendrell!


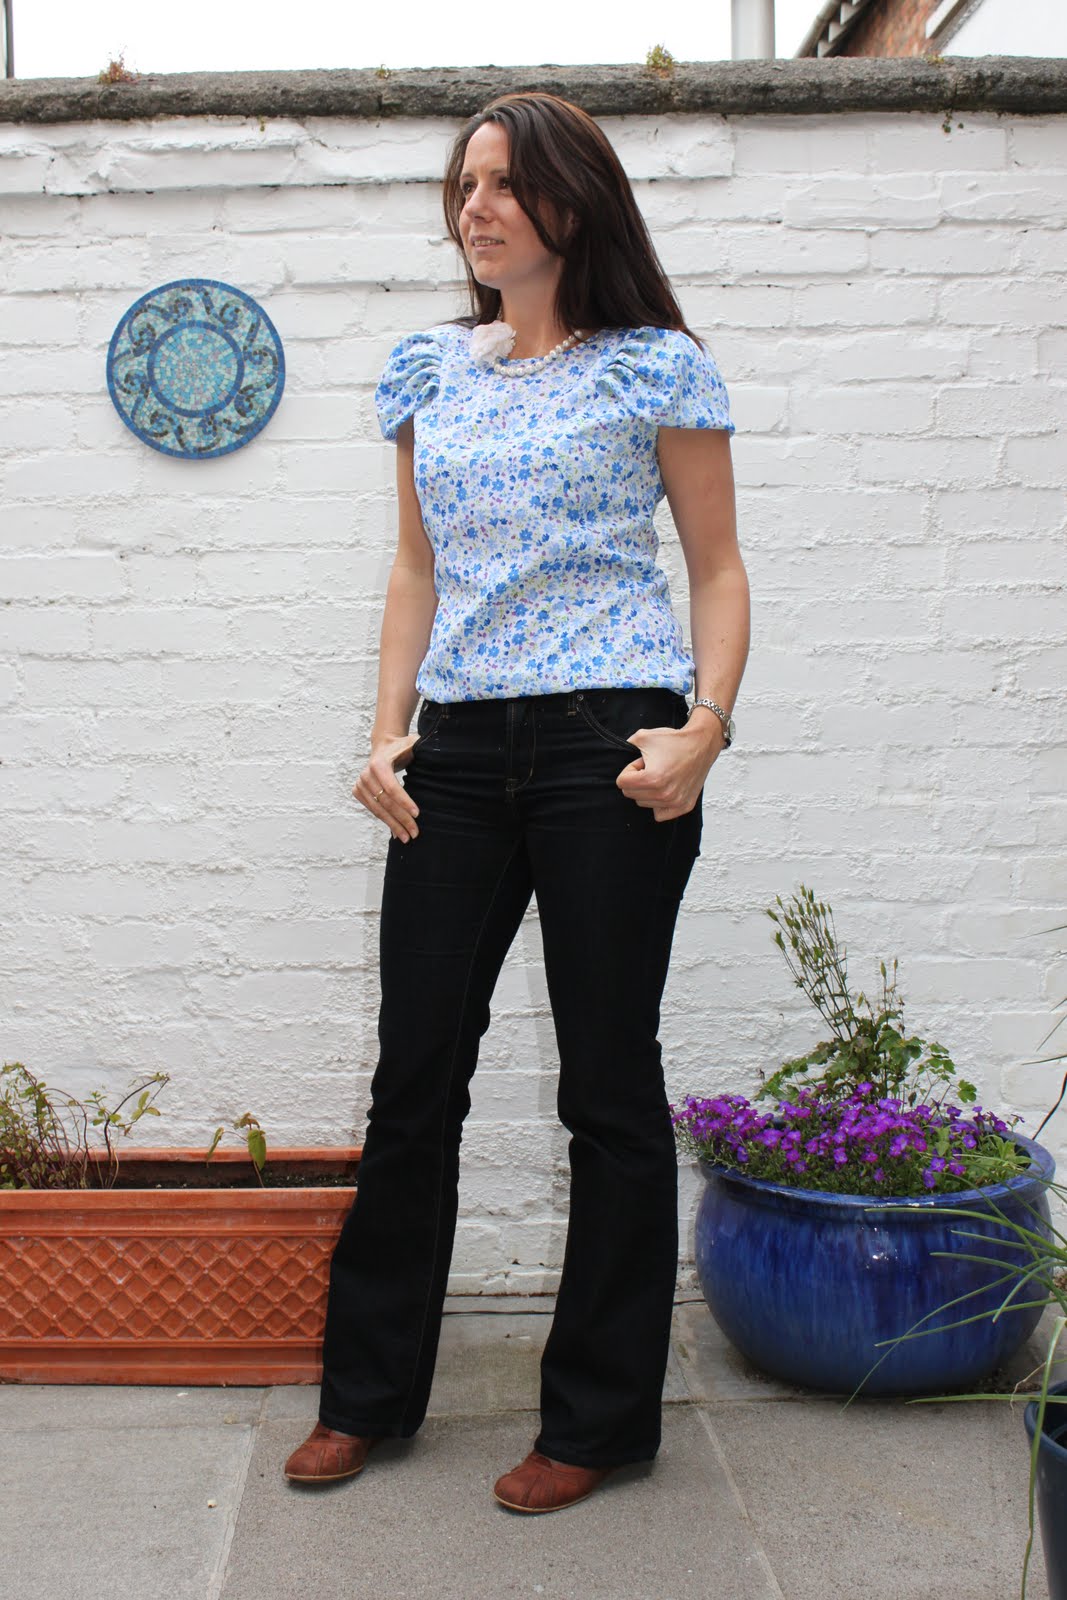
Finally - an 'FO' to share with you! It's been a while since I've had some finished sewing on this blog so I'm really excited to be able to show off my lovely new Pendrell top! I have long admired all the lovely Pendrells out there - for those of you who have not heard of this top before, it's the first pattern from Tasia of Sewaholic. The top has received rave reviews, and I have to say that I am jumping on that band wagon - I LOVE this top. It was fairly easy to make, even in slippy polyester fabric. I followed the sew-along which Tasia held and it was fantastic help. The instructions in the pattern are good - but the sew-along has lots of photos to help you fully understand how to do everything, which I always find very useful.


I decided to go for view A as I don't think I'm really a 'frill' kind of girl - and I have to say that I love this draped sleeve. It really takes the top from basic to classy. When I saw the pattern piece for the draped sleeve I was confused...and nervous - I didn't know how my slippy fabric would behave. But basting really is the key...and pins. Lots and lots of pins!

I had heard that the pattern has a lot of give in it - intentionally so. Based on my measurements I should have cut a size 10, but when I checked the finished garment measurements I decided to try making up a size 8 - and I'm glad I did, it is absolutely perfect for me! Sewaholic patterns are made with pear-shaped ladies in mind, so as a fellow pear (!) I am so delighted that I can cut out a pattern and it fits well without having to grade into a larger size at the hips. I know a lot of ladies had to do a FBA when making up this pattern though, so bare that in mind if you are thinking of making this up and are not pear shaped! Oh, I also didn't bother with a muslin and luckily it turned out that I didn't need to (phew!). I have to admit that I find sewing up a muslin very boring and because I sew so slowly (or rather, infrequently) by the time I get round to sewing the real fabric, I have slightly lost interest!


I know Tasia always wears her Pendrells tucked in, but I equally like the top un-tucked, for a more relaxed look (as above).


Here is a close-up of the print. I'm really into blues at the moment, so this fits into my wardrobe very well. Actually, I know right now that this top is going to be the most worn item that I have sewn. So far I have sewn up things that I like, but aren't things I would wear on a daily basis. It's something I've been thinking about recently and something I think I need to bare in mind when making my future sewing plans. Speaking of future sewing plans...I see many more Pendrells...in lots of different colours!

Monday, 28 March 2011

Watch the Birdie....

I'm back! Sorry for my silence. I had well and truly lost my sewing mojo for a while there...it was a sad, sad time*. But The whirring (and occasional swearing) is once again being heard from our top room as I get back into the swing of things.

I've actually had this little top finished for a while now, but I just haven't managed to get some snaps of it. I showed you my muslin trial here, where I deduced that, although it's a tight fitting top, no refitting would be required...I just needed to change my bra! The top is made from a vintage Butterick pattern (3286):


This was my first time using a vintage pattern and I purposefully chose a simple one to start off with. Nothing difficult here and the instructions were easy enough to follow. So I think I will try a more complex one soon. Anyway, on to the finished top:


I used a cheap Ikea cotton fabric which I had left over and needed used up. So because it is cotton, it wrinkles in front of your very eyes, but it is a fun print. Although it's a basic sewing pattern, if you use an interesting print it takes it to another level. I was very pleased to have compliments on the top the very first day I wore it into work!


(you may notice the little companion I had come visit me during my fashion shoot - it's our neighbours cat. I would love a cat of my own, but for now I must settle with sharing my neighbours!!)


Close up shot - wrinkles galore..and I had only ironed it 10 mins ago!!


I don't wear a lot of green but I just happened to have this cardi from Zara which is the exact shade as the fabric so here's the top styled with the cardi (more appropriate for this time of year!!!).

My attempt to wear a skinny belt over the cardi - I love to be able to rock this look, but I'm not enough of an hour-glass shape and I always feel a bit bottom heavy and flat chested when I wear this look!


*It wasn't really a sad, sad time - please don't be worrying!!

Monday, 6 September 2010

Men's Shirt to Smocked Halterneck TUTORIAL!


Well I said I had managed to fit in a little sewing....and when I said little I mean little! This was such an easy top to make that I thought it would be fun to make a little tutorial.


1. Take one large men's shirt (I got this nice pink and white striped one from a local charity shop for the tidy sum of £3.50 because my boyfriend wasn't parting with any of his current shirts - the cheek!) and cut straight across the body below the base of the sleeves. I used a ruler and rotary cutter to get a perfectly straight line (but that's because I, for some reason, do not have the basic ability to cut in a straight line with a pair of scissors!).

2. Turn down the newly created edge twice and straight stitch.

3. Do a quick straight stitch down the front to sew the button piece and buttonhole piece together (so that it won't gape while you wear it!)


4. Now comes the fun part -smocking / shirring! Get some elastic thread and wind gently onto an empty bobbin. Thread your machine as normal with white cotton as the top thread and use the elastic bobbin - threading like normal thread. Adjust the tension to make it a little tighter and then sew! I started and finished each line with a little bit of back stitching just to be safe then to move onto the next line I just lifted the foot and moved the shirt across by the distance of one half of the foot. After trying on the top while adding more lines I ended up with about 10cms/4inches shirred.
Top tip - if you have a button in the area you want to smock, unpick it so that you can easily sew over this area and then sew it on again at the end.
For an excellent tutorial for shirring check out Grosgrain

5. If you like you can leave the top like this and you would be done!! If you leave it like this you could actually wear this as a top OR a skirt! I was going to do this, but after trying out the various options I decided I just didn't suit the skirt version and thought it would actually look quite nice with straps. So....


6. Cut two strips from the sleeves each measuring about 9cm x 50cm. For each one fold in half and sew 1cm seam along long edge and also along one of the ends. I decided to make my ties have pointed ends so my seam at one short end was done at an angle. Turn each strap right side round and iron. Put on the top and mark where you would like the straps to start from. I think it looks better if the straps are quite far apart. Then take off top, double over the ends of each strap (fold 1cm then 1cm again) and sew each in place. Put top on, tie straps behind neck and you are DONE!!!

As I said, so quick and easy. And I love the end result:

I think this would also make a very sweet dress for a little girl!


P.S. I'm linking:


Related Posts with Thumbnails