Friday, 23 August 2013

DIY I Do : Ties for the Page Boys

RS wedding 133

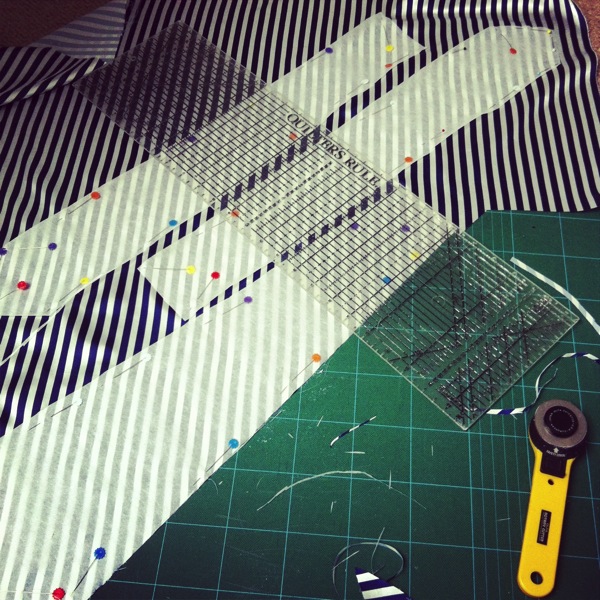
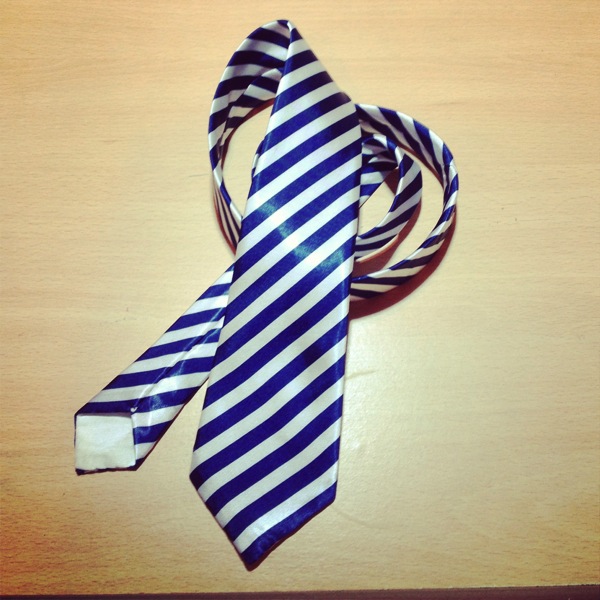
As I mentioned in my last post, as well as making the flower girl dresses I also made matching ties for our page boys. I had previously never made ties before but had pinned a tutorial and pattern which I thought looked pretty easy. Well…I recon making these ties was harder than making the flower girls dresses!!! I made the first one months and months before the wedding…and then the rest of the material sat waiting for me to get the energy to make the other two!

IMG 0824

IMG 0890

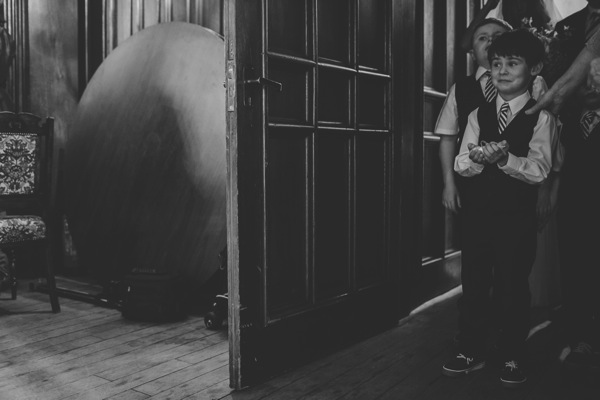
The original tutorial is made out of beautiful, well behaved Liberty Tana Lawn. My ties were made out of slippery slidey, very badly behaved, polyester! I couldn't cut the ties on a bias fold as the fabric would slide around and I was worried that it would mess up the stripes, so I had to make individual pattern pieces to lay out for each tie on the flat. And then you need to iron the ties - a lot. Well, my fabric did not like being ironed - so pins were brought out. A lot of them. And then because I was over ironing and over working my fabric, and it being cut on the bias, it grew and stretched! Which meant that the pattern pieces for the stable interlining were too short - so I had to cut new ones! BUT, as with the flower girls dresses, and other DIY parts to the wedding, it was worth it in the end as the little boys looked very dapper and very handsome!

IMG 0044

RS wedding 203

Tuesday, 20 August 2013

DIY I Do : The Flower Girls Dresses!

RS wedding 119
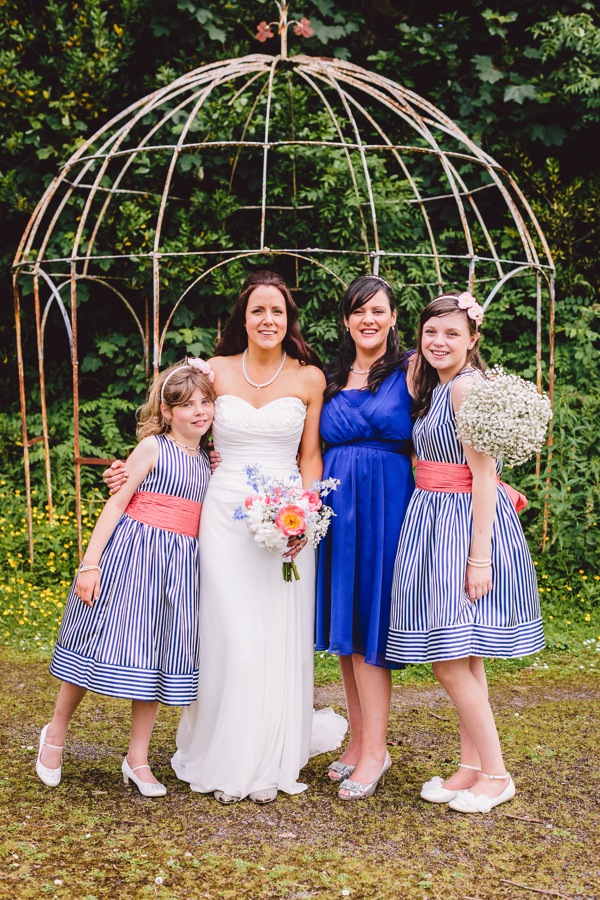
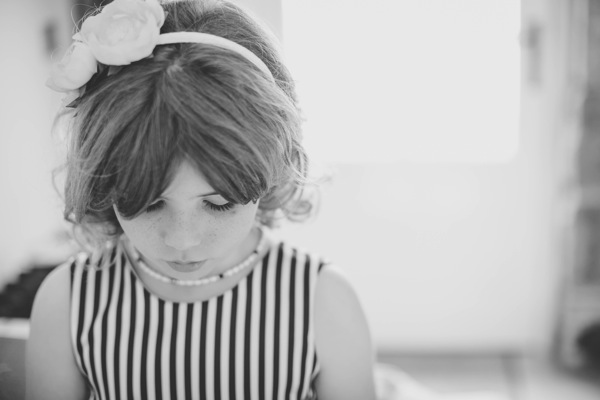
I am so excited to finally be able to blog about my flower girl dresses! I've written a couple of previous posts about my inspiration and showed you a muslin, but today I get to reveal the finished dresses. I have to admit that I was so so SO pleased with how they turned out - in fact their dresses were perhaps one of my favourite things about the day!!
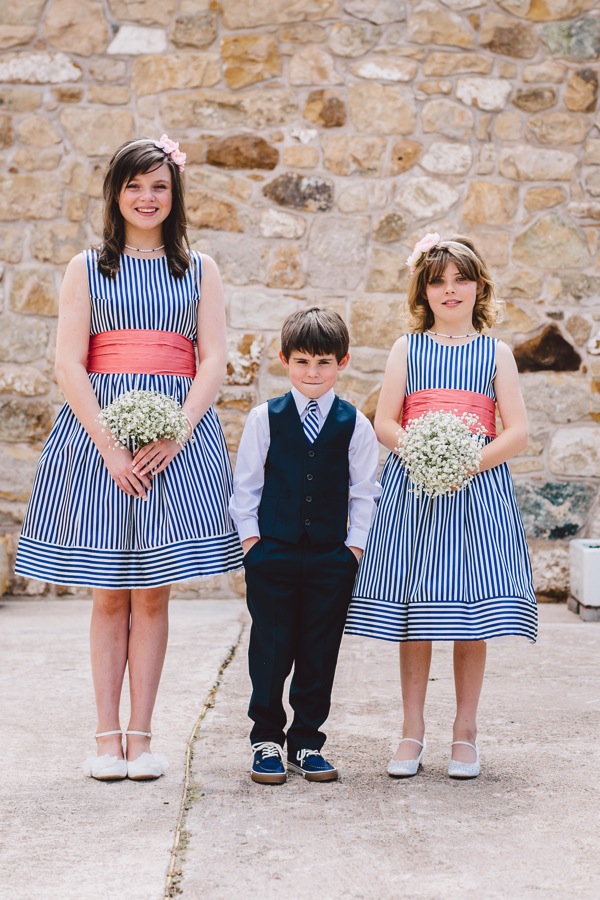
I used New Look 6309, view D, which is a basic sleeveless girls dress with gathered skirt. It was hard to pick a suitable pattern that would essentially suit both girls because one is 8 and one is 11 (going on 15!) so they are sort of in that in-between age that isn't really catered for in sewing patterns it seems. So I thought that by picking such a basic pattern it should be easy enough to alter. New Look 6309 is for ages 3-8 so I had to cut the largest size for the younger girl and sort of 'wing' it for the elder. Luckily the size 8 was a pretty good fit for the 8 yr old so I didn't have to do much altering on her at all - a little bit of pinning and such and it was good to go (phew!).
Fitting the 11 year old was another matter. She is quite mature for her age and last year went through a major growth spurt (she's almost the same size as me already!!). I ended up having to make about 4 muslins for her to get the fit right. I decided to use swedish tracing paper (or similar - minus the grid markings) to make my muslins and I have to say I'm a bit of a convert - it is just so convenient!!! Thankfully because the skirt is essentially just a large rectangle gathered I only had to worry about getting the bodice fit. But it was tricky because I have never had to fit someone else other than myself, and she has started to develop a bit of a womanly shape so darts were required. 
Oh - and to make things even more awkward - the 8 year old lives in England (I live in Northern Ireland btw) and the 11 yr old lives a 2 hr drive away!! Not so convenient for fitting. I ended up having only one opportunity to fit the 8yr old and a couple of goes for the 11yr old. But thankfully it all worked out really well! 
IMG 0822
 I just wanted to share the photo above to show my very happy coincidence when sewing up one of the dresses - look how well I matched the stripes on the shoulder seams….total fluke! Don't you just love it when that happens?! I have to admit that, apart from the shoulder seams (which aren't usually a place I bother with pattern matching), I worked very hard an ensuring my sewing was as neat as I could make it as I was really conscious that people would know I had made the dresses and therefore would be inspecting the sewing very closely. Do you ever find that? As soon as someone knows that an outfit is handmade they start inspecting it in great detail? Talk about putting the pressure on!! But thankfully I didn't really have any dramas with the dresses - the invisible zips were some of the best I have sewn, the stripes on the bottom matched up and the lining went in smoothly - I was very lucky!
RS wedding 087
RS wedding 091
RS wedding 090
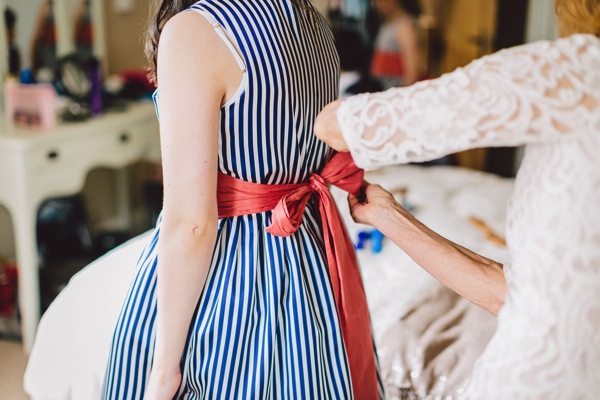
 In a previous post I mentioned that I was planning on making a striped sash for the dresses. I had planned this all along but one day my mum put the idea of a coral silk sash into my head. I had the muslin of the dress over at her house at the time and she had some suitable silk to hand, and once I saw them paired together I thought it would be a really lovely touch. My bouquet was to have some coral peonies in it, and the cake would have coral flowers on it as well, so we thought it would be the perfect way to tie everything together.  
RS wedding 093
RS wedding 095
RS wedding 096
RS wedding 105
Now here is confession time - I didn't make the sashes! They are homemade though. Evidently I may have bitten off more than I could chew, and I was really feeling the pressure of so much DIY and sewing that needed to be done for the wedding. My mum kept asking if there was anything she could help with - so I decided to ask her to make the sashes. She was more than happy to help. No pattern was used, she just winged it (that's how us Wilsons sew most things apparently!), but they turned out beautifully. She made the 8yr olds a bit wider than the 11yr olds as we thought a narrower sash would be more age appropriate for the elder girl, and both were lined with quite stiff interlining which meant they kept their shape really well all day.
RS wedding 280
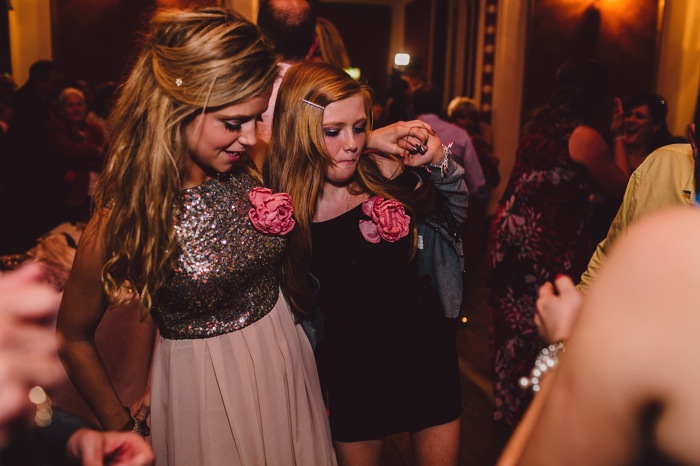
 Both dresses were fully lined with lovely soft white cotton. On the skirt linings I sewed two rows of gathered tulle to give the skirts some 'flooffiness' as I call it (aka body and shape!) - the girls loved it and enjoyed twirling and dancing all day!
RS wedding 196
RS wedding 345
Although at times I was in major stress mode and cursing taking on so much, I honestly am now so please and proud to have made the girls dresses. They turned out exactly how I wanted them and added such a quirky, unique and personal touch to the day.

Saturday, 17 August 2013

DIY I Do : The Stationery and some fun extras

So today I'm just go to do a short blog post sharing how we did our wedding stationery. I know this is primarily a sewing, and sometimes crafting, blog, but I just wanted to make my DIY I Do series complete. I thought if someone stumbles across my blog while searching for DIY wedding information they may like to know how we did our invites etc.

RS wedding 030 

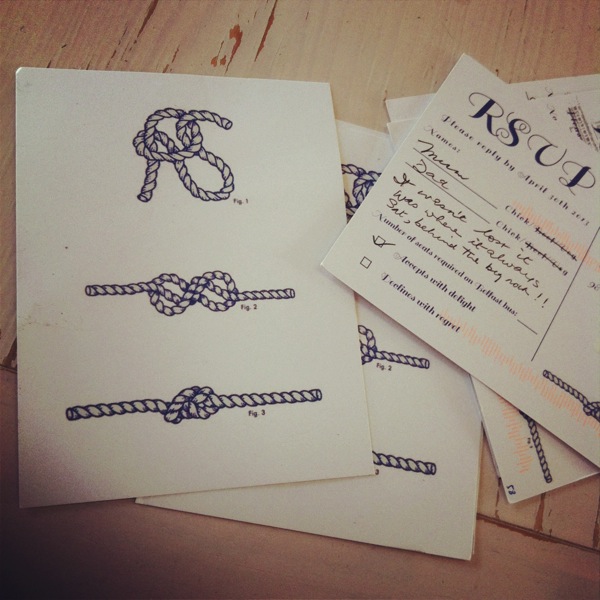
I really wanted to incorporate the 'RS' knot tying image onto our stationery, but since we were trying to keep to a budget we couldn't afford to commission someone to do it for us! So after a bit of research I discovered that Vista Print did large and small postcards. I quite like messing around on publisher and was able to design PDFs of both sides of our invitation and uploaded them as 'pictures' on the large postcard option. The front of the invite was the blue and white design detailing who/when/where that you can see in the photos here. The back was all the detailed information for the day - for example directions, nearby accommodation, meal choices and gift list details. We also included an A4 sheet listing accommodation and more detailed directions including a map. A small, stamped, addressed postcard was also included as an rsvp, again with the knot tying image. Keeping to the 'tying the knot' theme, these were all tied together with lovely blue and white bakers twine and a little label attached:

IMG 0667

RS wedding 032

IMG 0710

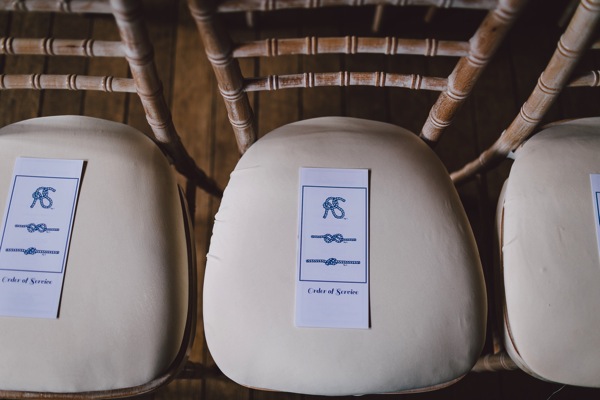
I also designed our Order of Services on Publisher and ordered them through Vista Print. I decided to go with a tri-fold brochure style, rather than the more traditional A5 folded booklet (mainly because I didn't like the thought of having to fold and bind over 100 of them!!!):

RS wedding 092

Vista Print do a lot more than just post cards, and when ordering my invitations I may have got a little carried away with our wedding branding. A cute extra I decided to order were small circular stickers (again, they had the 'RS' on them) that we used to seal our envelopes. Honestly though, it sounds really frivolous, but they didn't cost that much, and really made the invitations extra special. If you have ever ordered anything off Vista you will know that from then on they HOUND you with 'special offers' - but actually thats a really good tip. Order something small and simple and wait for the offers to come in - you will save SO much money. Our invitations were personalised and matched our wedding 'brand' and were a fraction of the cost of going to a wedding invitation specialist. They also send you offers for 'free' things, you just have to pay the postage. Well it would be rude not to:

RS wedding 035


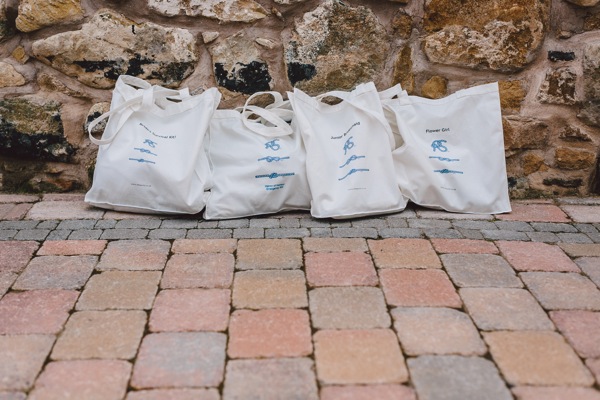
So each flower girl as well as the Matron of Honour got a little personalised bag filled with their outfit necessities for the day plus a few fun little gifts thrown in too. I really enjoyed making up and filling these bags, and it was such fun seeing their faces when I gave them their bags! And since they were 'free' I decided I needed a 'Bride's Survival Kit' bag for myself too!! It turned out to be VERY useful (I kept my make-up, perfume and a pair of flats to change into during some photos and then in the evening).

RS wedding 335

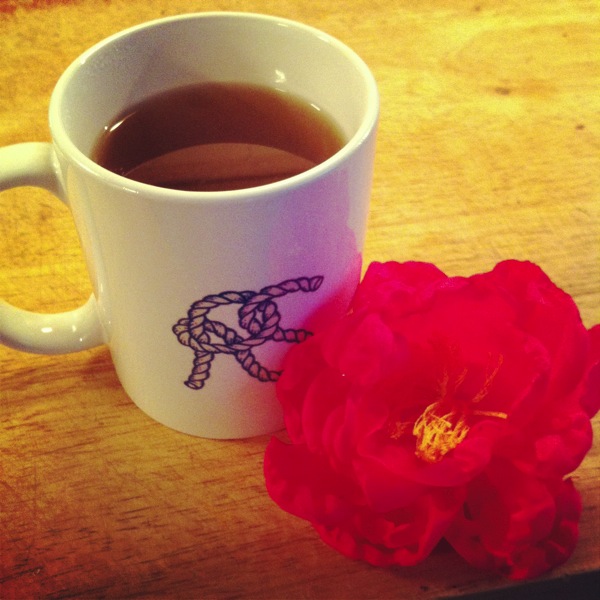
Oh…and I may even have got myself a little wedding branded mug for the day too….

IMG 0709


…why not - it was free!

Thursday, 15 August 2013

DIY I Do : Favours

Over the last year I have been sharing a few snaps on Instagram of Robin and I working away at making our wedding favours so it's really exciting to be able to finally share the full details. Incase you missed the Instagram shots here's a reminder:
Favours Collage

I decided that I wanted our favours to be functional as well as follow the theme of the wedding. A good while ago I came across the video tutorial on how to make fabric peonies on the Creature Comforts blog (which, if you haven't heard of you should totally check out because it's a really great blog full of lovely images and inspiration!). Peonies are my absolutely favourite flowers and I was planning on having Coral Charm peonies in my bouquet, so I thought it would be a lovely idea to give all the ladies peony brooches for their favours. As well as being really cute and useful (I bought brooch pins that also had a clip - so the flowers can be worn on your clothes, on a bag or in your hair!), they also added a fun pop of colour to the tables:

RS wedding 442

Although I would happily have filled all the tables with pink peonies, I had a feeling that the men might not be so enthusiastic to receive them! So that meant thinking of a different favour for the male guests. Since our overall theme was 'tying the knot' I thought it appropriate to give the men knots, and keeping it functional decided to turn them into key rings. Again I found an online video tutorial explaining how to tie a monkey fist knot and started practising. They are a bit hard to get the hang of, and do require a bit of patience, but are totally worth the effort. My husband was really nagging me for a wedding related job to do so I tasked him to make the 60-odd key rings. Once he got the hang of the knotting (it took him quite some time, especially since he thought he could make a 'tool' to help him…why do guys do that?! lol) he chipped away at that number and managed to finish all his knots before I was even halfway through my peonies (I love the photo of him working away surrounded by knots at the top of the page!).

RS wedding 447

Although this ended up being quite a task to take on (we had 110 guests!) I'm so glad that we made our favours - they added another personal element to the day and were a great source of conversation too. I loved looking through the photos when we came back and spotting the brooches on some of the ladies and I love the fact that everyone now has a cute and function gift that will remind them of the day.

RS wedding 648

Tuesday, 13 August 2013

DIY I Do : We're Married!

RS wedding 400


Hi everyone - I'm back from my lovely honeymoon and I'm now officially a Mrs! 

We had such a fantastic wedding day, which honestly flew by in a bit of a blur (everyone tells you this…and it's true!), so although I wasn't looking forward to coming home after the honeymoon (more on that another time…I may have done a little bit of fabric shopping), I was excited to get back and look through our professional photos of the day. 
As you will know, if you have been following the blog recently, my family and I have been beavering away with lots of little DIY details for the wedding and now that I'm home and have the photos back, I cannot wait to finally be able to share them all on the blog with you guys! There are so many things I want to talk about that I'm going to have to spread them out over a few blog posts - so just a warning that this blog will turn a little 'wedding-y' for awhile (although considering it's had NO posts recently, I'm guessing wedding-y posts are better than no posts!).

For now I'll just leave you with some general shots from the day. All photos were taken by the very talented and lovely Gillian Higgins.

RS wedding 161

Wedding Shoes

RS wedding 037

RS wedding 108

GroomBride

RS wedding 101

RS wedding 210

RS wedding 218

Ceremony

RS wedding 343

RS wedding 409

Detals1

RS wedding 507

RS wedding 575

Related Posts with Thumbnails